Natural light is one of the most beautiful, versatile, and accessible resources available to photographers. Unlike artificial lighting, which requires equipment and technical knowledge, natural light is free and available to everyone. The key is understanding how to observe, predict, and work with it to create stunning images in any environment. In this comprehensive guide, I'll share techniques for mastering natural light in different scenarios.
Understanding the Quality of Light
Before diving into specific techniques, it's essential to understand that natural light has different qualities depending on the time of day, weather conditions, and environment. The main characteristics to consider are:
Hard vs. Soft Light
Hard light creates strong, defined shadows and high contrast. It's typically produced by direct sunlight on clear days. While challenging to work with, hard light can create dramatic images with bold shadows and highlights.
Soft light produces gentle, diffused shadows and lower contrast. It's created when light passes through clouds or other diffusing materials. Soft light is generally more flattering for portraits and easier to work with for beginners.
Left: Hard light with defined shadows | Right: Soft diffused light
Direction of Light
The direction from which light falls on your subject dramatically affects the mood and dimension of your image:
- Front lighting: When light comes from behind the photographer, it evenly illuminates the subject, showing details but potentially creating a flat look with minimal shadows.
- Side lighting: Light coming from the side creates shadows that reveal texture and form, adding dimension and depth.
- Back lighting: When light comes from behind your subject, it creates rim lighting, silhouettes, or haze effects that can be very atmospheric.
- Top lighting: Overhead light (like midday sun) can create unflattering shadows on faces but works well for certain landscape or architectural shots.
The Golden Hours: Magic Light for Photographers
The "golden hours"—the period shortly after sunrise and before sunset—are prized by photographers for their warm, directional light that creates a magical glow. During these times, the sun is low in the sky, producing:
- Warm, golden tones that flatter skin and landscapes
- Softer shadows that add dimension without harsh contrast
- Directional light that adds depth and texture
- Lower intensity light that's easier for subjects to face without squinting
To make the most of golden hour:
- Plan your shoot in advance using apps like PhotoPills or The Photographer's Ephemeris that predict sunrise/sunset times and sun position.
- Arrive early to set up and scout locations, as golden hour light changes rapidly.
- Position your subject with the sun coming from behind or to the side for the most flattering light.
- Work quickly, as this magical light typically lasts only 20-30 minutes.
Midday Sun: Working with Challenging Light
Midday sun is often considered the most challenging light for photographers due to its harsh, overhead quality. However, with the right techniques, you can still create beautiful images:
Finding or Creating Shade
The simplest solution is to move your subject into open shade. Look for:
- The shadow side of buildings
- Under trees with a consistent canopy
- Covered porches or overhangs
When shooting in open shade, position your subject near the edge of the shade facing toward the light (not deeper into the shadow). This creates pleasant, directional light without harsh shadows.
Portrait taken in open shade with soft, flattering light
Using Reflectors and Diffusers
Portable light modifiers can transform harsh midday light:
- Diffusers: Place a translucent panel between the sun and your subject to create soft, even light.
- Reflectors: Bounce light back into shadow areas to reduce contrast and fill in unflattering shadows.
A 5-in-1 reflector kit (typically under $30) is one of the most versatile and affordable tools for controlling natural light.
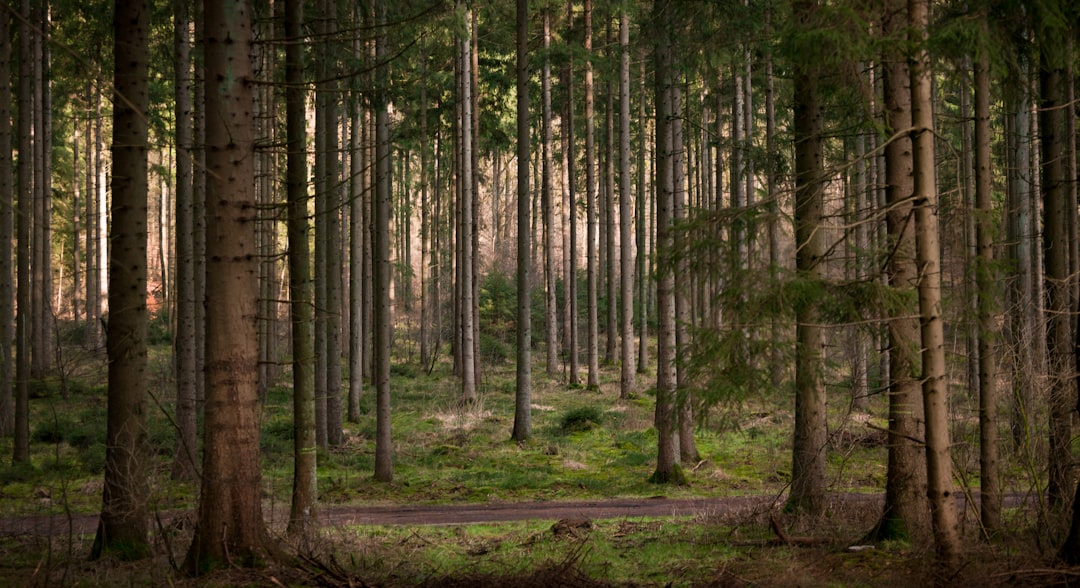
Cloudy Days: Embracing Nature's Softbox
Overcast days provide some of the most forgiving light for photography. Think of clouds as a giant softbox that diffuses sunlight, creating:
- Soft, even light with minimal shadows
- Reduced contrast that captures more detail in highlights and shadows
- More saturated colors, as harsh light doesn't wash them out
While cloudy days are ideal for portraits and close-up work, they can make landscapes appear flat. To add interest to landscape photos on overcast days:
- Include strong foreground elements
- Look for vibrant colors that pop in soft light
- Consider converting to black and white to emphasize texture and form
- Capture dramatic skies when clouds have interesting formations
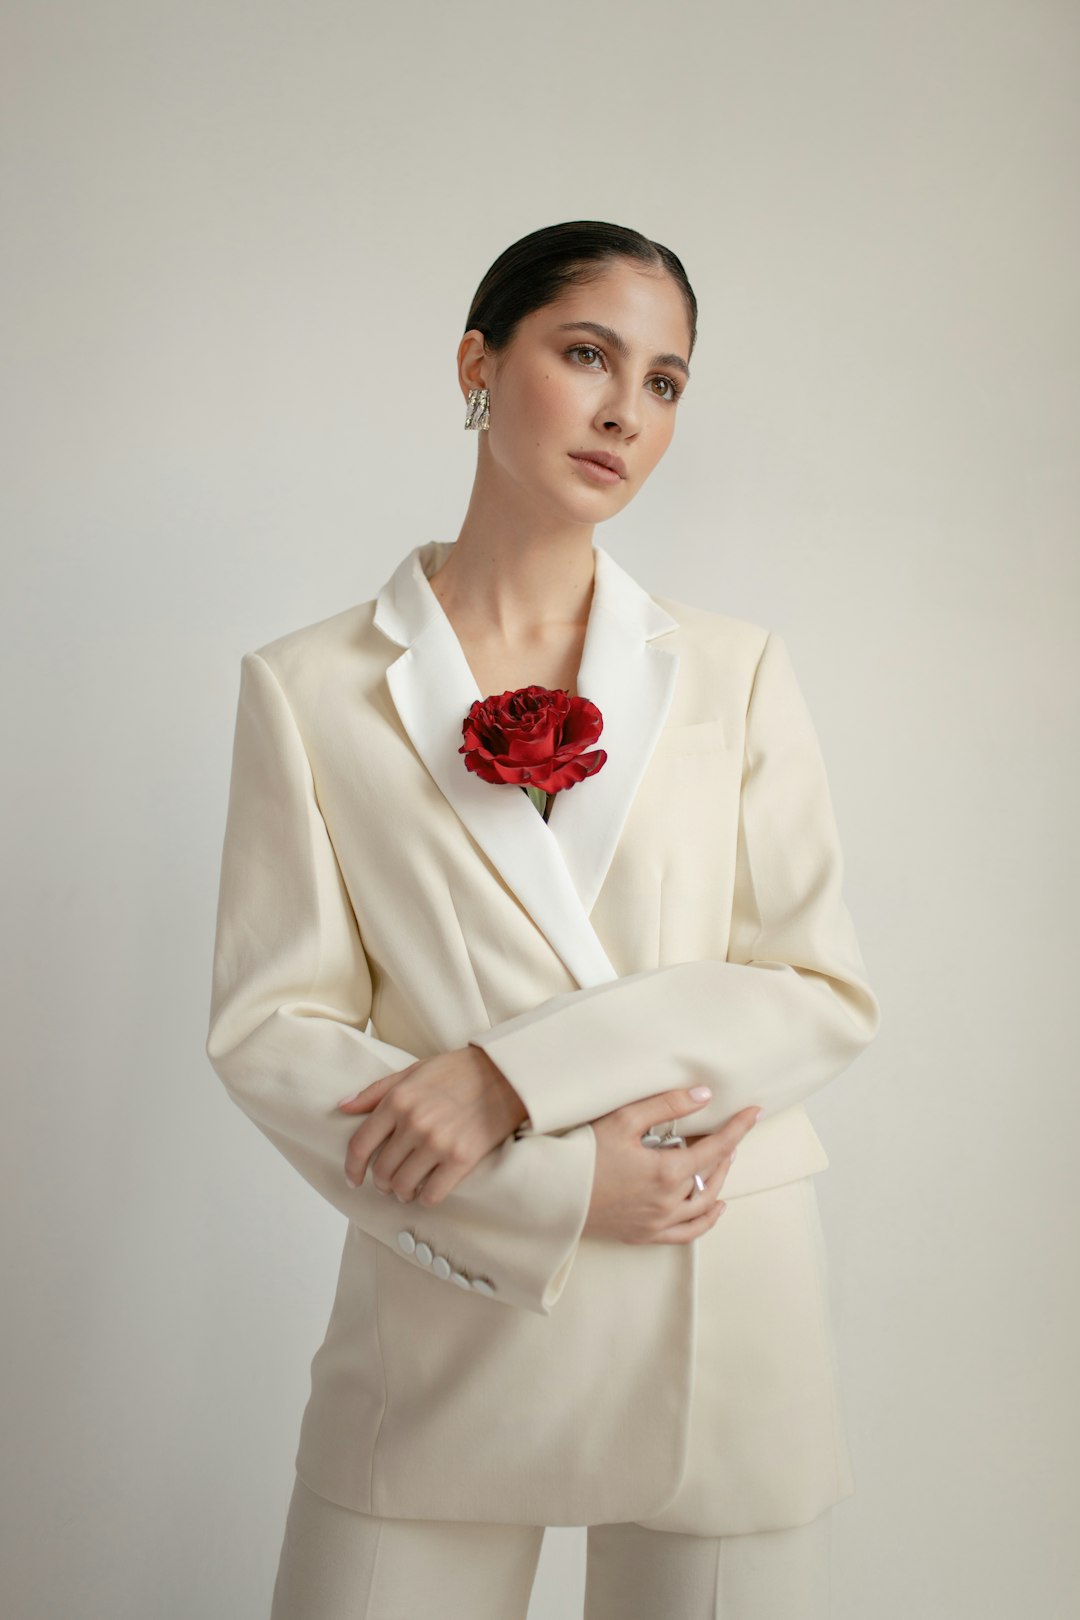
Window Light: Nature's Studio Light
Window light is one of the most beautiful and controllable forms of natural light. It's essentially side lighting that creates dimension while remaining soft and flattering. To use window light effectively:
Positioning Your Subject
- Place your subject perpendicular to the window for classic side lighting with dimension.
- Position them facing the window for flat, even lighting with minimal shadows.
- Try backlighting by placing your subject between the camera and window for a dreamy effect (expose for the subject's face).
Modifying Window Light
You can easily control window light:
- Use sheer curtains to diffuse harsh direct sunlight.
- Place a reflector opposite the window to bounce light back and fill shadows.
- Block light from the top portion of the window to create more dramatic, directional light from below.
Window light is perfect for portraits, still life, food photography, and product shots.
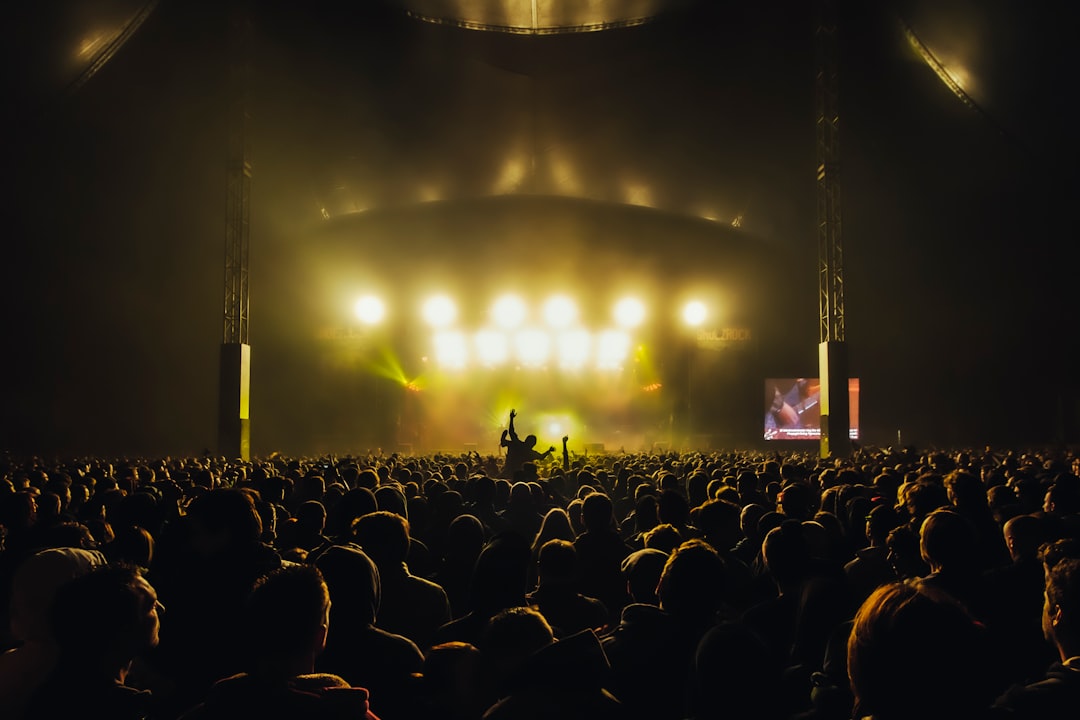
Backlight: Creating Dramatic Effects
Backlighting (placing your subject between the camera and light source) creates some of the most dramatic and atmospheric images but requires careful technique:
Silhouettes
To create striking silhouettes:
- Position your subject in front of a bright light source like the setting sun.
- Ensure your subject has a recognizable profile or shape.
- Expose for the background, letting your subject fall into shadow.
- Look for clean backgrounds without distracting elements.
Rim Lighting
For beautiful rim lighting that outlines your subject:
- Position your subject with the light source behind them but slightly to one side.
- Expose for your subject's face, not the bright background.
- Use spot metering on your subject to avoid silhouetting.
- Consider using a reflector to bounce light back onto your subject's face.
Rim lighting creates a glowing outline around the subject
Blue Hour: After Sunset Magic
While golden hour gets more attention, the "blue hour"—the period just after sunset or before sunrise—offers equally magical light with a completely different mood:
- Cool blue tones create a serene, calm atmosphere
- City lights begin to balance with the darkening sky
- Low light levels create a dreamy, ethereal quality
Blue hour is ideal for cityscapes, architecture, and creating moody portraits. Because of the low light, you'll typically need:
- A tripod for longer exposures
- Higher ISO settings
- Wider apertures
Practical Tips for Working with Natural Light
Camera Settings
When working with natural light, these camera settings will help you capture the light effectively:
- Shoot in RAW format for maximum flexibility in post-processing.
- Use spot metering when working with backlight or high-contrast scenes.
- Consider bracketing exposures in challenging lighting conditions.
- Pay attention to your histogram to ensure you're capturing full detail in highlights and shadows.
Essential Equipment
While natural light photography requires minimal gear, these items can be invaluable:
- A 5-in-1 reflector for bouncing and diffusing light
- A lens hood to prevent flare when shooting toward the light
- Polarizing filter to manage reflections and enhance colors
- Neutral density filters for creative long exposures in bright conditions
Conclusion: Becoming a Student of Light
Mastering natural light is less about equipment and more about observation. The best natural light photographers are those who develop an eye for how light behaves and affects their subjects. Start by paying attention to light in your daily life—how it falls through windows, creates patterns of shadow, and changes throughout the day.
Remember that "good light" is relative to what you're trying to achieve. While soft, golden hour light is universally flattering, harsh midday sun might be perfect for creating high-contrast street photography or emphasizing texture in landscape details.
With practice, you'll begin to see light differently and develop the ability to work with whatever natural conditions you encounter, turning lighting challenges into creative opportunities.
What's your favorite type of natural light to work with? Share your experiences and questions in the comments below!