In today's digital photography world, capturing the image is just the beginning of the creative process. Post-processing has become an essential part of photography, allowing photographers to enhance their vision and create finished images that truly represent their artistic intent. However, without an efficient workflow, editing can become a time-consuming and overwhelming task, especially when dealing with hundreds or thousands of images from a shoot.
In this guide, I'll share the streamlined post-processing workflow I've developed over years of professional photo editing, helping you save time while achieving consistent, high-quality results.
Why You Need a Structured Editing Workflow
Before diving into the specifics, let's understand why having a systematic approach to post-processing is so important:
- Time efficiency: A well-designed workflow dramatically reduces editing time.
- Consistency: Following the same process ensures your images have a cohesive look.
- Quality control: A systematic approach helps avoid common editing mistakes.
- Reduced decision fatigue: Having clear steps eliminates constantly deciding "what to do next."
- Better organization: Structured workflows help keep your digital assets organized and accessible.
With these benefits in mind, let's break down an efficient post-processing workflow into manageable phases.
Phase 1: Image Management and Selection
The editing process begins before you even open your editing software. Proper image management is the foundation of an efficient workflow.
Step 1: Import and Organization
- Create a consistent folder structure: Organize by date (YYYY-MM-DD) followed by a descriptive name (e.g., "2024-03-15 Smith Wedding").
- Use metadata during import: Add relevant keywords, copyright information, and basic metadata to all images upon import.
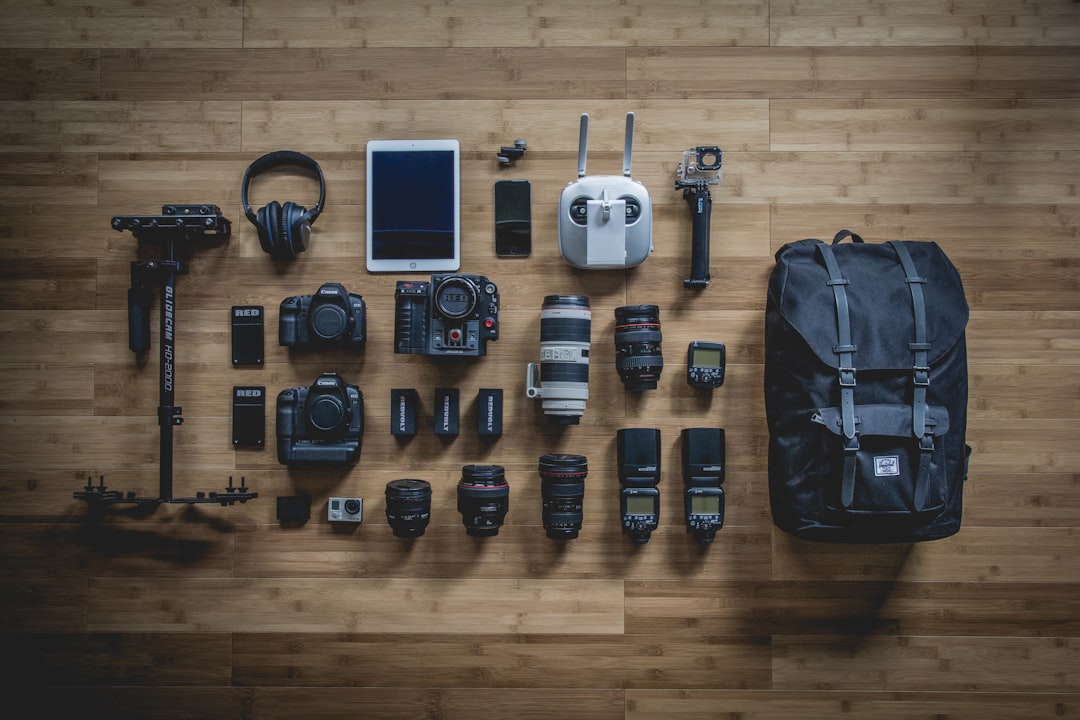
- Back up your raw files: Before any editing, ensure your original files are backed up to at least two separate locations.

A well-organized photo catalog is essential for an efficient workflow
Step 2: Culling and Selection
Efficient culling is perhaps the most significant time-saver in the entire workflow. The goal is to quickly reduce hundreds of images to only those worth editing.
- First pass (rapid elimination): Quickly remove obvious rejects—images with technical problems like missed focus, poor exposure, or closed eyes.
- Second pass (selection): Mark your "selects" or favorites from the remaining images.
- Third pass (refinement): From your selects, identify the absolute best images that will receive your full editing attention.
For culling, use software optimized for quick review like Photo Mechanic, or the Library module in Lightroom with shortcuts. I recommend using a rating system:
- ★ (1 star) - Keeper but not for editing
- ★★ (2 stars) - Good image worth basic editing
- ★★★ (3 stars) - Excellent image for full editing
- ★★★★ (4 stars) - Portfolio or client delivery candidates
- ★★★★★ (5 stars) - Absolute best images for showcase
Be ruthless during culling—remember that every image you eliminate is time saved in editing.
Phase 2: Basic Adjustments
Once you've selected your images, it's time for the first round of editing. In this phase, focus on making foundational adjustments that affect the overall look of the image.
Step 3: Apply Presets or Previous Edits
If you're working with a series of images shot in similar conditions:
- Apply a base preset that matches your general style
- Or sync settings from a previously edited image from the same shoot
- For client work, ensure the preset matches the agreed-upon style
Step 4: Global Adjustments
Make these fundamental adjustments in this order:
- White balance: Correct the color temperature and tint first, as these affect all other color adjustments.
- Exposure: Set the overall brightness of the image.
- Contrast: Adjust the overall difference between light and dark areas.
- Highlights and shadows: Recover detail in bright and dark areas.
- Whites and blacks: Set the white and black points to ensure a full tonal range.
- Clarity and texture: Enhance mid-tone contrast and fine detail.
- Vibrance and saturation: Adjust color intensity, usually with a light touch.
At this stage, aim for a solid foundation rather than perfection. You're creating a good starting point for more refined edits.
Phase 3: Advanced Editing
Now that the basic adjustments are complete, move on to more targeted and creative edits.
Step 5: Local Adjustments
Use tools like adjustment brushes, graduated filters, and radial filters to make localized changes:
- Brighten or darken specific areas
- Enhance colors in targeted regions
- Add selective sharpening to important details
- Reduce noise in shadow areas
Step 6: Color Grading
Fine-tune the color palette of your image:
- Adjust individual color channels in the HSL/Color panel
- Apply split toning or color grading to highlights, midtones, and shadows
- Create color harmony by ensuring complementary colors work well together
Advanced color grading can establish your signature style
Step 7: Detail Enhancement
Focus on fine-tuning the details:
- Sharpening: Apply appropriate sharpening based on the image content and intended output.
- Noise reduction: Balance noise reduction with detail preservation.
- Texture and clarity refinements: Make final adjustments to texture, clarity, and dehaze tools.
Remember that detail enhancement should be viewed at 100% zoom to accurately assess the effects.
Phase 4: Finishing Touches
The final phase of editing includes corrections, artistic effects, and preparing the image for output.
Step 8: Retouching and Corrections
- Remove distractions using the spot removal or healing tools
- Fix any remaining blemishes or imperfections
- Perform advanced retouching in Photoshop if necessary
- Apply lens corrections if not done automatically
Step 9: Creative Effects
Add any stylistic elements that define your artistic vision:
- Vignetting to direct attention to the subject
- Grain or film simulation for character
- Subtle light leaks or texture overlays if they match your style
Step 10: Final Review and Crop
Before exporting:
- Take a fresh look at the image after a short break if possible
- Make any final adjustments to the crop and straightening
- Check the image at various zoom levels for a comprehensive assessment
- Ensure the image looks good on a calibrated display
Phase 5: Export and Delivery
Step 11: Export with Purpose
Create export presets for different purposes:
- Web delivery: Typically JPEG at medium quality, sRGB color space, with appropriate resizing
- Client delivery: High-quality JPEGs or TIFFs, with or without watermarks
- Print preparation: Full-size TIFFs in ProPhoto or Adobe RGB color space
- Portfolio: High-quality exports optimized for your portfolio platform
Step 12: Archive and Backup
Protect your work with a solid archiving strategy:
- Keep your RAW files and editing catalog backed up
- Store exports in an organized folder structure
- Consider cloud backups for additional security
Advanced Workflow Tips for Maximum Efficiency
Batch Processing
For sets of similar images:
- Edit one image completely, then sync settings to similar shots
- Create and save presets for common scenarios you encounter
- Use the "previous" button to apply the last edit to a new image
Keyboard Shortcuts
Learning keyboard shortcuts can dramatically speed up your workflow:
- In Lightroom: R for crop, Q for spot removal, K for adjustment brush
- In Photoshop: B for brush, J for healing tools, V for move tool
- Create custom keyboard shortcuts for your most-used functions
Hardware Optimization
Your equipment can significantly impact editing efficiency:
- Use a calibrated monitor for accurate color assessment
- Consider a graphics tablet for more precise retouching
- Invest in sufficient RAM and a fast SSD for your editing computer
- Use an external hard drive system for efficient storage and backup
Maintaining Consistency Across Projects
Creating a cohesive body of work requires consistency in your editing approach:
- Create style guides: Document your typical settings for different types of photography.
- Develop signature presets: Build custom presets that define your style.
- Use color palettes: Maintain a consistent color palette across projects.
- Regular calibration: Ensure your monitor is regularly calibrated to maintain color accuracy.
Adapting Your Workflow to Different Photography Genres
While the overall structure remains similar, different photography styles may require workflow adaptations:
Portrait Workflow Emphasis
- Focus on skin tones and retouching
- Pay attention to catchlights and eyes
- Consider frequency separation techniques for skin
Landscape Workflow Emphasis
- Emphasis on dynamic range and detail
- Consider focus stacking or exposure blending
- Careful attention to color grading for mood
Wedding Workflow Emphasis
- Batch processing for efficiency with large image sets
- Consistent look across varied lighting conditions
- Presets for common scenarios (indoor, outdoor, reception)
Conclusion: Evolving Your Workflow
A good post-processing workflow isn't static—it should evolve as your skills, software, and creative vision develop. Regularly assess your process and look for bottlenecks or areas for improvement.
Remember that the goal of an efficient workflow isn't just to save time—it's to create a consistent, repeatable process that lets you focus your creative energy on making artistic decisions rather than figuring out technical steps.
By implementing a structured approach to post-processing, you'll not only work faster but also develop a more distinctive and consistent style that defines your photography.
What aspects of your current editing workflow could use improvement? Share your challenges or tips in the comments below!